


The Ultimate Guide to Choosing the Best One for Your Needs – Expert Tips and Recommendations
Choosing the right sander can make or break your DIY project. With so many types and features, it’s easy to feel lost. But don’t worry – we’ve got you covered.

The best sander for you depends on your specific project, budget, and skill level. A belt sander is great for large, flat surfaces, while an orbital sander works well for smooth finishes. For tight spots and detailed work, a detail sander might be your best bet.
Think about what you’ll be sanding most often. Wood? Metal? Drywall? Each material needs a different approach. Also, consider factors like power source, dust collection, and ergonomics. These can make a big difference in your sanding experience.
Key Takeaways
- Choose a sander based on your project type and material
- Consider features like power source and dust collection
- Regular maintenance keeps your sander working well for years
Understanding the Basics of Sanding
Sanding is a crucial step in many woodworking and home improvement projects. It smooths surfaces, removes imperfections, and prepares materials for finishing. Knowing the right tools and techniques can make a big difference in your results.
Types of Sanders
There are several types of sanders, each designed for specific tasks. Orbital sanders are great for larger, flat surfaces. They move in small circles, leaving a smooth finish. Belt sanders are powerful tools for removing lots of material quickly. They’re ideal for rough sanding and leveling uneven surfaces.
Detail sanders have a triangular pad that fits into tight corners and small spaces. They’re perfect for intricate work on furniture or trim. Random orbital sanders combine circular and elliptical motions. This reduces swirl marks and gives a very smooth finish.
For big jobs like refinishing floors, you might need a drum sander. These heavy-duty tools can sand large areas quickly.
Selecting the Right Sandpaper Grit
Sandpaper grit refers to the coarseness of the abrasive particles. Lower numbers mean coarser grit, while higher numbers are finer.
Start with coarse grits (40-60) to remove old finishes or smooth rough surfaces. Move to medium grits (80-120) to even out the surface and remove scratches. Finish with fine grits (150-220) for a smooth surface ready for staining or painting.
For ultra-smooth finishes, use very fine grits (320 and up). Remember to always sand with the grain of the wood to avoid scratches.
The Importance of Dust Collection
Dust collection is crucial for both your health and the quality of your work. Sanding creates a lot of fine dust that can be harmful if inhaled. It can also settle on your project, ruining the finish.
Many modern sanders come with built-in dust collection systems. These capture dust right at the source. If your sander doesn’t have this feature, consider using a shop vacuum attached to your sander.
Wear a dust mask when sanding, even with dust collection. Open windows or use fans to improve ventilation in your work area. Clean up dust regularly to keep your workspace safe and tidy.
Evaluating Sander Features
When choosing a sander, several key features can make a big difference in your work. Let’s look at the most important aspects to consider.
Power Source: Corded vs. Cordless Sanders
Corded sanders offer steady power for long jobs. You don’t need to worry about battery life. They’re great for big projects or heavy-duty sanding. Cordless sanders give you more freedom to move. They’re perfect for quick touch-ups or working in tight spots.
Corded sanders usually have more power. They can handle tougher jobs without slowing down. But you’re limited by the cord length and need an outlet nearby.
Cordless sanders are very portable. You can take them anywhere. But battery life can be an issue for longer jobs. You might need extra batteries for big projects.
Think about where you’ll use your sander most. If you work mainly in one spot, a corded model might be best. For jobs all around the house or job site, cordless could be the way to go.
Variable Speed Control
Variable speed control lets you adjust how fast your sander moves. This is really useful for different types of work. Slower speeds are good for delicate jobs or fine finishing. Faster speeds help remove material quickly.
With variable speed, you can:
- Start slow on rough surfaces
- Speed up for faster material removal
- Slow down for a smoother finish
- Adjust for different types of wood or paint
Some sanders have dials or switches for easy speed changes. Others might have preset speeds to choose from. The more control you have, the more versatile your sander will be.
Ergonomic Design Considerations
A good sander design makes your work easier and more comfortable. Look for:
- Comfortable grip: Should fit your hand well
- Low vibration: Less tiring on your hands and arms
- Balanced weight: Easier to control and use for longer periods
- Easy-to-reach controls: You shouldn’t have to stop to adjust settings
Some sanders have rubber overmolds on the grip. This helps reduce vibration and improves comfort. Others might have adjustable handles for different hand sizes or positions.
Think about how long you’ll use the sander at a time. If you do lots of sanding, ergonomics become even more important.
Dust Collection System Mechanics
A good dust collection system keeps your work area clean and helps you breathe easier. Look for sanders with built-in dust ports or bags. Some connect directly to shop vacs for even better dust control.
Efficient dust collection is important because it:
- Keeps your workspace cleaner
- Improves visibility of your work
- Protects your lungs from harmful dust
- Extends the life of your sandpaper
Some sanders have microfilter dust canisters. These catch even very fine dust particles. Others might have larger bags that need emptying less often.
Check how easy it is to empty or clean the dust collection system. You don’t want to spend more time cleaning your sander than using it.
Choosing the Best Sander for Specific Tasks
Different sanding tasks require specific tools for the best results. The right sander can make your job easier and produce a better finish.
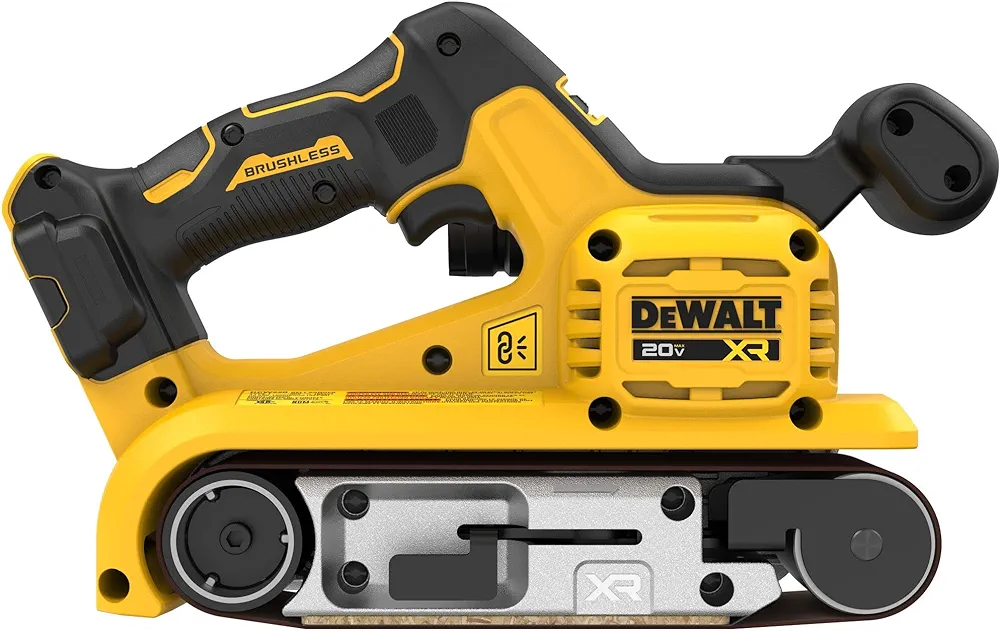
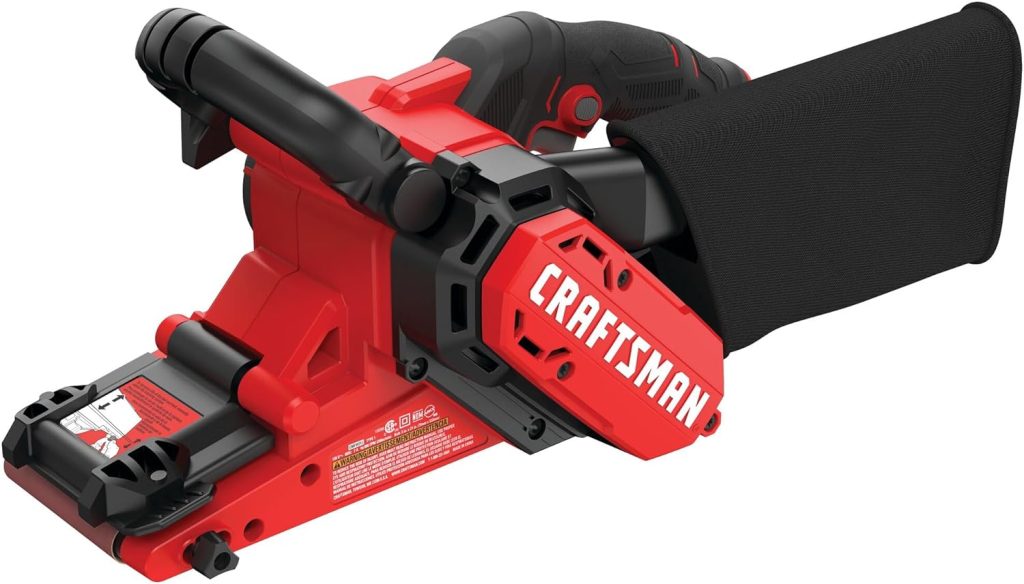
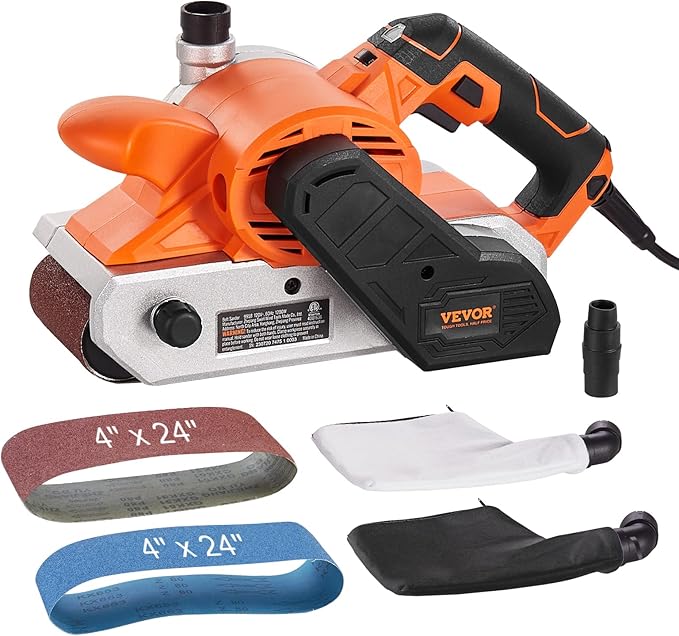
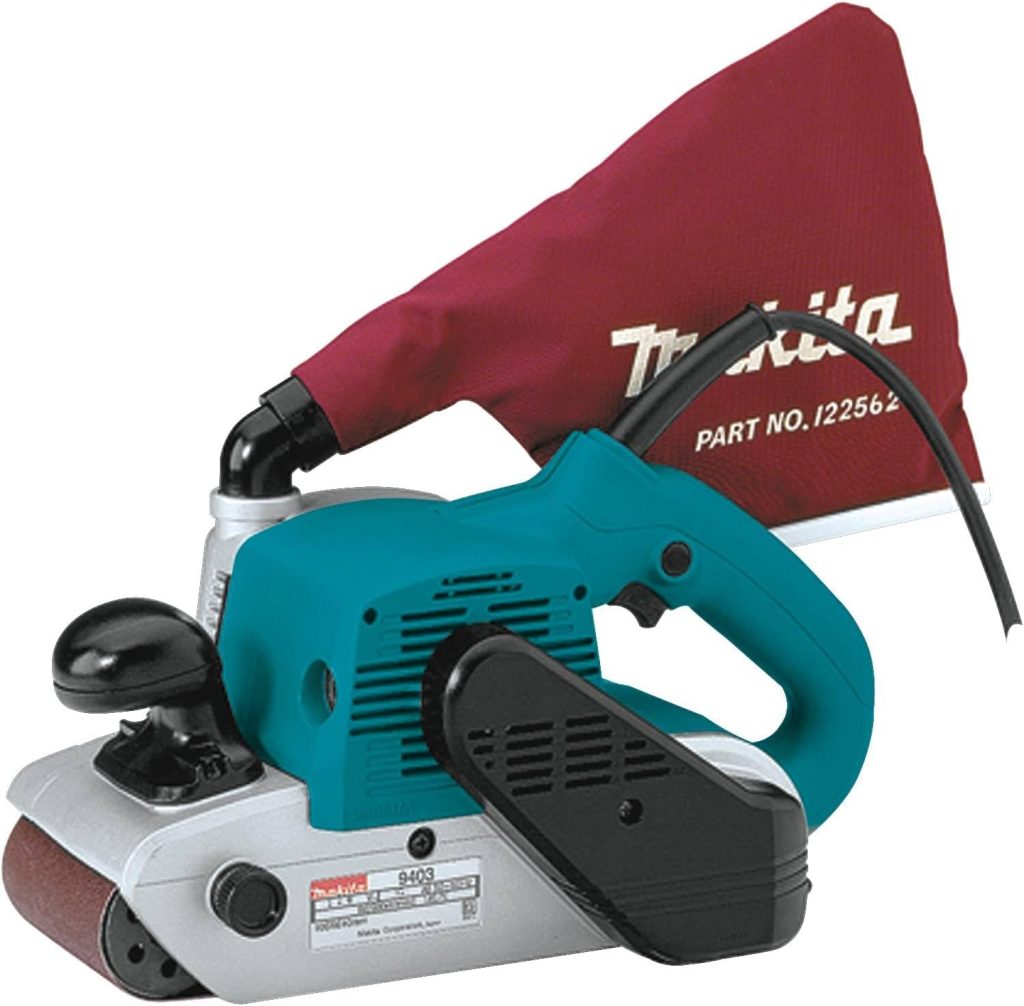
Heavy Material Removal and Rough Sanding
For big jobs that need lots of material removed fast, a belt sander is your best bet. These powerful tools can quickly smooth large, flat surfaces.
Belt sanders work great on:
- Wooden floors
- Table tops
- Doors
When using a belt sander:
- Start with coarse grit belts
- Move to finer grits for a smoother finish
- Keep the sander moving to avoid gouges
For very rough surfaces, consider a drum sander. These machines can remove a lot of material quickly. They’re ideal for restoring old hardwood floors or prepping raw lumber.
Precision Sanding and Final Touches
When you need a smooth, even finish, reach for an orbital sander. These tools are perfect for:
- Furniture
- Cabinets
- Trim work
Orbital sanders come in different types:
- Random orbital sanders: Great for smooth finishes without swirl marks
- Palm sanders: Ideal for small areas and tight spots
For extra-fine work, try a detail sander. These small, triangular tools can get into corners and along edges where other sanders can’t reach.
Best Sanders for DIY and Woodworking Projects
For most DIY and woodworking tasks, a random orbital sander is a versatile choice. It can handle both rough sanding and fine finishing.
Key features to look for:
- Variable speed control
- Dust collection system
- Comfortable grip
If you work on a lot of different projects, consider getting both a belt sander and an orbital sander. This combo will cover most of your sanding needs.
For small DIY jobs, a mouse sander can be handy. These compact tools are great for:
- Quick touch-ups
- Sanding in tight spaces
- Light detail work
Remember, the best sander for you depends on the types of projects you do most often.
Popular Sander Models and Brands

When choosing a sander, certain brands and models stand out for their quality and performance. These top picks offer a mix of power, durability, and features to suit various sanding needs.
DEWALT: Durable and Powerful
DEWALT sanders are known for their reliable performance and robust construction. Their models often feature:
- Strong motors for tackling tough jobs
- Dust collection systems for cleaner work areas
- Variable speed settings for different materials
The DEWALT DWE6423K Random Orbit Sander is a popular choice. It has a 3.0 amp motor and a hook-and-loop pad for easy sandpaper changes. This sander also has a dust-sealed switch to prevent dust from getting inside and damaging the tool.
Makita: Efficiency and Reliability
Makita offers sanders that balance power with user comfort. Key features include:
- Ergonomic designs to reduce user fatigue
- Efficient dust collection systems
- Smooth operation for fine finishing work
The Makita BO5041K Random Orbit Sander is well-regarded. It has a 3.0 amp motor and variable speed control. The sander’s unique handle design allows for improved control and comfort during extended use.
Festool: Precision and High Quality
Festool sanders are prized for their exceptional build quality and precision. They often come with:
- Advanced dust extraction capabilities
- Smooth, low-vibration operation
- Interchangeable pads for different sanding tasks
The Festool ETS EC 150/5 EQ is a high-end option. It features an EC-TEC brushless motor for long life and consistent performance. The sander also has a balanced design to reduce user fatigue during long sanding sessions.
Bosch ROS20VSC: Versatility at its Finest
The Bosch ROS20VSC is a versatile random orbit sander that offers:
- Variable speed control for different materials
- Microfilter dust collection system
- Pad dampening system to prevent swirl marks
This sander has a 2.5 amp motor and a 5-inch sanding disc. It’s lightweight at only 3.5 pounds, making it easy to use for extended periods. The Bosch ROS20VSC also comes with a carrying case for easy transport and storage.
Maintenance and Care for Longevity
Taking good care of your sander is key to keeping it working well for a long time. Regular cleaning is a must. After each use, clean the sander’s parts, including the sanding pad and dust collection areas.
Check the moving parts often. Look for wear and tear on belts, bearings, and other components. Replace them when needed to avoid bigger problems later.
Keep your sander dry and dust-free when not in use. Store it in a cool, dry place to prevent rust and damage. A cover can help protect it from dust and moisture.
Lubricate the bearings as recommended by the manufacturer. This keeps the sander running smoothly and reduces wear on moving parts.
Don’t forget about your sanding materials. Clean or replace sanding belts and discs regularly. Dirty or worn-out sanding materials can affect your work quality and put extra strain on the sander.
Pay attention to unusual noises or vibrations. These can be signs of problems that need fixing. Addressing issues early can prevent more serious damage.
By following these simple steps, you can extend the life of your sander and keep it performing at its best for years to come.
Practical Sanding Techniques and Tips
Good sanding techniques are key to getting great results. The right moves, a professional finish, and safety are all important parts of sanding well.
Mastering Different Sanding Movements
To sand well, you need to know how to move your sander. For flat surfaces, use long, even strokes. Move with the wood grain. This helps avoid scratches.
For curved areas, use small, circular motions. This lets you follow the shape better. Don’t press too hard. Let the sander do the work.
When using an orbital sander, keep it moving. If you stay in one spot, you might make dips in the wood. Overlap your passes by about half the sander’s width. This ensures you don’t miss any spots.
Achieving a Professional Finish
To get a pro-level finish, start with coarse sandpaper and work up to fine grits. This method removes scratches from earlier grits.
Sand between coats of finish. Use very fine sandpaper, like 220-grit. This smooths out bumps and helps the next coat stick better.
Check your work often. Use a bright light to spot any rough spots or missed areas. Feel the surface with your hand. If it’s not smooth, keep sanding.
Clean off all dust between grits. Use a vacuum or tack cloth. Dust can scratch your work if left behind.
Safety Considerations in Sanding
Safety is crucial when sanding. Always wear eye protection to keep dust out of your eyes. A dust mask is also important. It stops you from breathing in harmful particles.
Work in a well-ventilated area. Open windows or use fans to move dust away from you. If possible, sand outside.
Wear hearing protection when using power sanders. They can be very loud and may damage your hearing over time.
Keep your work area clean. Sawdust can be slippery. It’s also a fire hazard. Clean up often to stay safe.
Be careful with power cords. Keep them away from your sanding area to avoid tripping. For safer sanding, consider using a cordless sander.
Accessorizing Your Sander
Choosing the right accessories for your sander can boost its performance and make your projects easier. The right add-ons can improve results and comfort.
Selecting Sanding Pads and Belts
Sanding pads and belts are key for good results. Pick the right grit for your job. Coarse grits (40-60) remove material fast. Medium grits (80-120) smooth surfaces. Fine grits (150-220) give a polished finish.
Match the pad or belt to your sander type. Orbital sanders need round pads. Belt sanders use long, continuous belts.
Check the backing material. Paper-backed pads are cheap but wear out fast. Cloth-backed options last longer and work well for curves.
For tough jobs, try ceramic or aluminum oxide abrasives. They cut faster and last longer than standard options.
Key Features to Enhance Performance
Look for accessories that boost your sander’s abilities. Dust collection bags or hoses keep your work area clean. They also protect your lungs from harmful particles.
Variable speed settings let you adjust for different materials. Slow speeds work well for delicate surfaces. Higher speeds remove material faster.
Some sanders offer interchangeable bases. These let you switch between different sanding patterns. A triangular base helps you reach tight corners.
Consider a sanding block for hand sanding. It gives even pressure and helps avoid gouges.
Customizing for Comfort and Control
A comfortable grip is crucial for long sanding sessions. Look for ergonomic handle covers or grips. These reduce vibration and hand fatigue.
Anti-vibration gloves can also help. They absorb shock and protect your hands.
For better control, try sanding guides or fences. These help you sand straight edges or keep consistent angles.
Sanding sponges conform to curves and contours. They’re great for odd shapes or detailed work.
LED lights on some sanders illuminate your work area. This helps you spot imperfections as you sand.
Understanding DIY Sanding Projects
Sanding is a key step in many DIY projects. It helps create smooth surfaces and prepares materials for finishing. Different projects need different sanding approaches.
From Home Improvement to Fine Carpentry
DIY sanding projects cover a wide range. You might sand walls before painting or smooth wood for furniture making. Each task has its own needs.
For home improvement, you often work on large areas. This could mean sanding drywall or prepping a deck for staining. These jobs need sanders that can cover big spaces fast.
Fine carpentry requires more control. You’ll sand small parts and curved shapes. Detail work demands sanders that can reach tight spots.
The type of material matters too. Wood, metal, and drywall all sand differently. Each needs its own approach and tools.
Selecting the Right Tool for the Project
Picking the best sander depends on your project. Think about the size of the area and the finish you want.
For big, flat areas, a belt sander works well. It removes material quickly. But it can be hard to control on small pieces.
Orbital sanders are good for medium-sized jobs. They’re easier to handle than belt sanders. They leave a smoother finish too.
Detail sanders help with tight corners and curves. They’re perfect for furniture work or crafts.
Always match the sander to the job. Using the wrong tool can damage your work or take too long. Pick a sander that fits your skill level too. Some are easier to use than others.
Frequently Asked Questions
Choosing the right sander depends on your project needs, skill level, and desired outcomes. Sanders come in many types with different features to suit various tasks.
What features should I consider when purchasing a sander suitable for woodworking?
When buying a sander for woodworking, look for adjustable speed settings and a dust collection system. A versatile sander like the Worx 20V Power Share Sandeck can handle multiple tasks. Consider the sander’s weight and grip comfort for extended use.
How do I choose the best sander for DIY furniture projects?
For DIY furniture, pick a sander that’s easy to control and maneuver. A detail sander with a compact design works well for intricate parts. Look for models with interchangeable pads to reach tight spots.
What are the advantages of using a random orbital sander over other types?
Random orbital sanders offer a smooth finish without swirl marks. They remove material quickly and work well for both rough sanding and fine finishing. These sanders are versatile and suitable for many woodworking tasks.
Are there any recommended sanders that come with a vacuum attachment for dust management?
Many sanders now come with built-in dust collection systems. Look for models with a dust bag or port to attach a shop vacuum. This feature keeps your workspace clean and protects your lungs from harmful dust.
What should beginners look for in a sander to ensure ease of use and effectiveness?
Beginners should choose a lightweight sander with a comfortable grip. A palm sander like the WEN 6301 is easy to control and affordable. Look for sanders with clear instructions and simple controls.
What type of sander is most appropriate for achieving a smooth finish on walls?
For smooth wall finishes, a drywall sander is your best bet. These sanders often have long handles to reach high areas. Look for models with variable speed control to adjust for different wall textures and materials.
Disclaimer
As an Amazon Associate, I earn from qualifying purchases. This means that if you click on an Amazon link and make a purchase, I may receive a small commission at no additional cost to you. Your support helps me continue creating valuable content and sharing my knowledge with you. I appreciate your trust and strive to provide helpful information to assist you in maki9ng informed decisions.


