


The Ultimate Guide – Master This Versatile Tool in Minutes
An orbital sander is a must-have tool for any DIY enthusiast or professional woodworker. This handy device makes quick work of smoothing surfaces and prepping materials for finishing. Orbital sanders create a random circular motion that prevents swirl marks and ensures a consistent finish.
Using an orbital sander is pretty simple, but there are some key things to keep in mind. You’ll want to choose the right sandpaper grit for your project and move the sander steadily over the surface. Don’t press too hard – let the tool do the work. With a bit of practice, you’ll be sanding like a pro in no time.
Whether you’re refinishing furniture, prepping walls for paint, or smoothing out rough wood, an orbital sander can help you get the job done faster and better. In this guide, we’ll cover everything you need to know to master this versatile tool.
Key Takeaways
- Choose the right sandpaper and let the sander’s weight do most of the work
- Move the sander steadily in the direction of the wood grain for best results
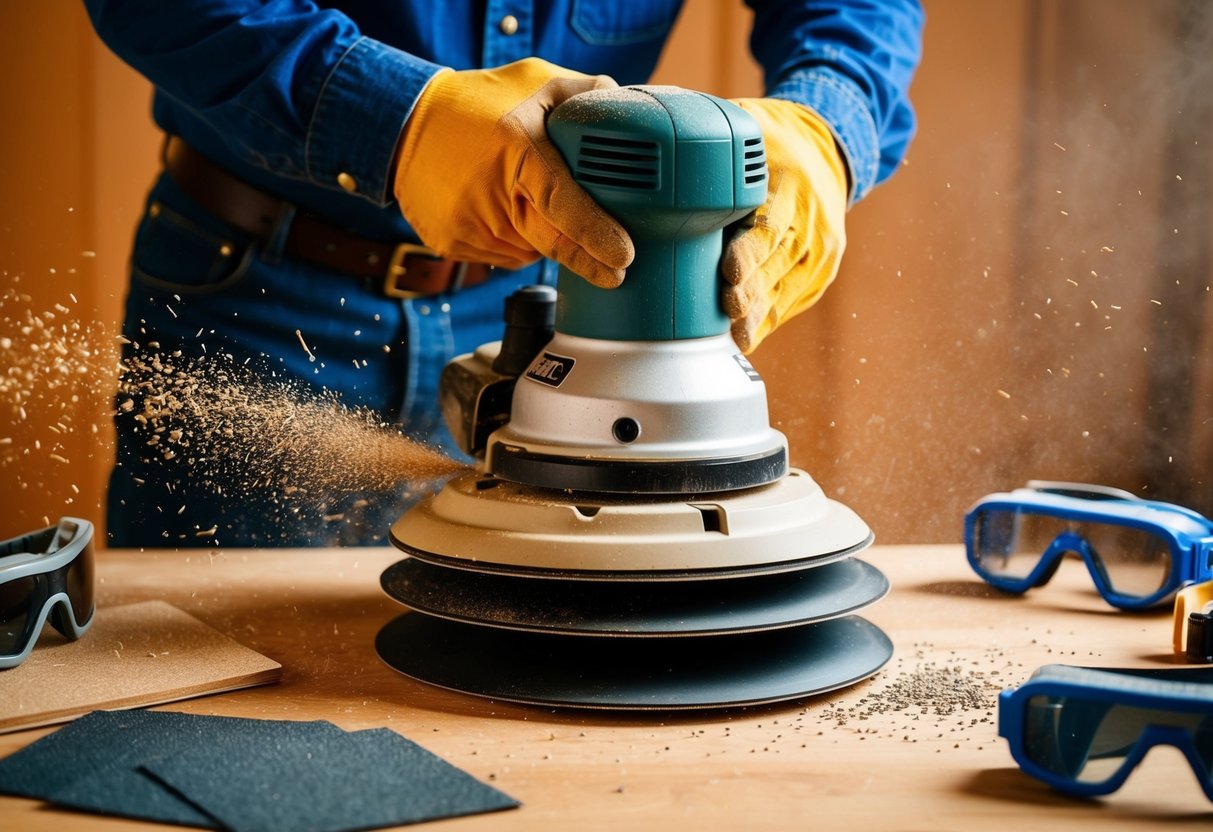
- Use dust collection and proper safety gear to protect yourself while sanding
Understanding Orbital Sanders
Orbital sanders are versatile power tools for smoothing surfaces. They come in different types, each with unique features and uses. Let’s explore the various orbital sanders, how they compare to belt sanders, and their key components.
Types of Orbital Sanders
There are several types of orbital sanders to choose from. Random orbital sanders are popular for their versatility. They move in a circular motion and spin at the same time, leaving a smooth finish.
Palm sanders are small and easy to handle. They’re great for tight spaces and detailed work.
Sheet sanders use standard sandpaper sheets. They’re good for large, flat surfaces.
Disc sanders have a round pad that spins. They’re useful for heavy material removal.
Each type has its strengths. Pick the one that fits your project needs best.
Orbital Sanders vs Belt Sanders
Orbital sanders and belt sanders serve different purposes. Orbital sanders are better for fine finishing work. They leave a smoother surface with fewer swirl marks.
Belt sanders are more aggressive. They remove material quickly but can leave deeper scratches. They’re ideal for rough shaping or stripping old finishes.
Orbital sanders are easier to control. You can use them with one hand. Belt sanders need two hands and more skill to use well.
For most DIY projects, an orbital sander is more versatile. But for heavy-duty tasks, a belt sander might be necessary.
Components and Features
The main parts of an orbital sander include:
- Motor: Powers the sanding pad
- Sanding pad: Attaches to sandpaper and moves in orbit
- Dust collection system: Captures sanding dust
- Speed control: Adjusts sanding speed (on some models)
- Grip: Allows you to hold and guide the sander
Key features to look for:
- Variable speed: Lets you adjust for different materials
- Dust collection: Keeps your work area clean
- Ergonomic design: Reduces hand fatigue
- Low vibration: Makes the sander more comfortable to use
Consider these components and features when choosing an orbital sander. They can make a big difference in your sanding experience and results.
Choosing the Right Sandpaper
Picking the right sandpaper is key for getting great results with your orbital sander. The grit you choose affects how quickly you remove material and how smooth the surface becomes.
Sandpaper Grit Explained
Sandpaper grit refers to the size of the abrasive particles on the paper. Lower numbers mean coarser grits that remove material faster. Higher numbers indicate finer grits for smoother finishes.
Common grit ranges include:
- Coarse (40-60 grit): For heavy material removal
- Medium (80-120 grit): General purpose sanding
- Fine (150-180 grit): Smooth finishing
- Very fine (220+ grit): Ultra-smooth finishing
The right grit sandpaper makes a big difference in your results. Coarse grits work well for stripping paint or smoothing rough wood. Fine grits are better for polishing and final finishing.
Matching Sandpaper Grit to the Project
Choose your sandpaper grit based on the task:
- Removing paint/varnish: Start with 60-80 grit
- Smoothing bare wood: Begin at 100-120 grit
- Finishing wood: Progress to 180-220 grit
- Polishing: Use 320 grit or higher
For most projects, you’ll want to start with a coarser grit and work your way up to finer grits. This removes material efficiently while achieving a smooth finish. Change to a finer grit once the current grit stops improving the surface.
Remember to select sandpaper designed for orbital sanders. The backing should match your sander’s sanding pad size and attachment system. Using the right sandpaper helps your orbital sander work its best.
Prepping for a Sanding Task

Getting ready for sanding is key to a smooth, safe, and successful project. You’ll need to prepare your workpiece, take safety steps, and secure everything properly.
Preparing the Workpiece
Before sanding, clean your workpiece well. Remove any dirt, dust, or old finish. Use a damp cloth to wipe down the surface. Let it dry fully.
Check for nails, screws, or staples. Remove or countersink them. Fill any holes or cracks with wood filler. Let it dry, then sand it flush.
For painted surfaces, you may need to strip the paint first. Use a paint stripper and follow the product instructions. Wear gloves and work in a well-ventilated area.
Inspect the surface for any rough spots or splinters. Sand these by hand first to avoid damaging your orbital sander.
Safety Precautions
Safety is vital when using power tools. Always wear a dust mask to protect your lungs from fine particles. Safety glasses shield your eyes from flying debris.
Wear ear protection to guard against noise. Many orbital sanders are loud and can harm your hearing over time.
Put on work gloves to protect your hands. They also give you a better grip on the sander.
Make sure your work area is well-lit and ventilated. Good airflow helps remove dust and fumes.
Keep your work area clean. A cluttered space can lead to accidents.
Securing the Workpiece
A stable workpiece is crucial for even sanding. Use clamps to hold your piece steady. This prevents it from moving while you sand.
For large pieces, use sawhorses or a sturdy work table. Make sure it’s at a comfortable height to avoid strain.
If working on small items, use a vise or bench dogs. These keep the piece in place without getting in your way.
For curved or oddly shaped items, use sandbags or non-slip mats. These conform to the shape and provide grip.
Remember, a secure workpiece leads to better control and a more even finish.
Effective Sanding Techniques

Using an orbital sander correctly can make a big difference in your results. The right methods help you get smooth surfaces and avoid common mistakes.
Achieving a Smooth Surface
To get a smooth surface, start with coarse-grit sandpaper and work your way up to finer grits. Move the sander in overlapping strokes across the surface. Don’t press down hard – let the sander’s weight do the work.
Change sandpaper when it gets worn out. Clogged paper won’t sand well. Clean the surface between grits to remove dust.
For wood, sand with the grain when possible. This helps avoid scratches across the grain.
Avoiding Swirl Marks
Swirl marks can ruin a smooth finish. To prevent them, keep the sander flat on the surface. Don’t tilt it or lift it while it’s running.
Use light pressure and keep the sander moving. Don’t sand in one spot for too long. Let the random orbital motion do its job.
Start the sander on the surface, not in the air. This stops it from digging in when you first touch down. Lift it off after you turn it off, not while it’s still spinning.
Sanding Curved and Uneven Surfaces
Curved surfaces need a gentler touch. Use a sander with a smaller pad for tight curves. This gives you more control.
For very uneven areas, start with a coarse grit to level things out. Then switch to finer grits to smooth the surface.
On edges, be careful not to round them off unless that’s what you want. Keep the sander flat and use light pressure.
For hard-to-reach spots, you might need to sand by hand. Use a sanding block or folded sandpaper to get into tight corners.
Advanced Sanding Projects
Orbital sanders shine in tackling complex refinishing tasks. With the right techniques, you can breathe new life into old furniture and strip away stubborn finishes.
Refinishing Furniture
Refinishing furniture with an orbital sander can give old pieces a fresh look. Start by removing old paint or varnish using coarse-grit sandpaper (60-80 grit). Move the sander in the direction of the wood grain.
After removing the finish, switch to medium-grit paper (120-150) to smooth out any rough spots. Finally, use fine-grit paper (220 or higher) for a silky surface.
Be careful around edges and curves. Use light pressure to avoid damaging the wood. For intricate areas, consider attaching a detail sanding pad to your orbital sander.
Sanding for Paint and Varnish Removal
Removing old paint or varnish requires patience and the right approach. Begin with coarse-grit sandpaper to break through the finish. Apply even pressure and move in overlapping circles.
As layers come off, switch to finer grits. This prevents deep scratches in the wood beneath. Keep the sander moving to avoid creating dips or uneven areas.
For stubborn spots, you may need to use a chemical stripper first. After applying the stripper, use your orbital sander with medium-grit paper to remove any residue.
Always wear a dust mask and work in a well-ventilated area when removing old finishes. Clean the sander’s dust collection system regularly for optimal performance.
Dust Collection and Cleanup

Proper dust collection and cleanup are crucial when using an orbital sander. These practices protect your health and keep your workspace tidy.
Using a Dust Collection System
Dust collection systems are essential for orbital sanders. Most sanders have a built-in dust port. Attach a dust bag or hose to this port. This catches most of the dust as you sand.
For better results, use a shop vacuum. It provides stronger suction than a dust bag. Make sure the hose fits snugly on your sander’s port.
Check your dust collection often while working. Empty bags or canisters when they’re about half full. This keeps suction strong.
Some sanders have holes in the sanding pad. These help with dust extraction. Make sure your sandpaper has matching holes for best results.
Maintaining a Clean Work Area
Clean your work area regularly when sanding. Dust can build up quickly.
Sweep or vacuum the floor after each sanding session. Wipe down nearby surfaces with a damp cloth.
Wear a dust mask while cleaning. This protects you from breathing in fine particles.
Clean your sander after each use. Remove the sandpaper and brush off any dust. Use compressed air to blow out hard-to-reach areas.
Check the sander’s air vents. Keep them clear of dust to prevent overheating.
Store your sander in a dust-free area. This keeps it in good condition between uses.
Maintaining Your Orbital Sander
Taking care of your orbital sander is key to keeping it in top shape. Regular maintenance helps your tool last longer and work better.
Clean your sander after each use. Wipe it down with a soft cloth to remove dust and debris. Pay special attention to the sanding pad, as it can collect a lot of dust.
Check your sanding discs often. Replace them when they get worn out or clogged. Using old discs can damage your work surface and strain the sander’s motor.
Inspect the sanding pad regularly for wear and tear. A damaged pad can affect the sander’s performance. Replace it if you notice any rips or uneven spots.
Keep the dust collection system clear. Empty the dust bag or vacuum attachment after each use. This helps your sander work more efficiently.
Store your sander in a dry place. Moisture can damage the motor and other parts. Use the case that came with your sander if you have one.
Lubricate moving parts as needed. Check your user manual for specific instructions on how to do this properly.
By following these simple steps, you’ll keep your orbital sander running smoothly for years to come.
Tips for Enhanced Sanding Efficiency and Comfort
Using an orbital sander efficiently and comfortably can greatly improve your results. The right speed settings and proper ergonomic practices make a big difference in your sanding experience.
Choosing the Right Speed Settings
Orbital sanders often have variable speed settings that let you adjust to different tasks. Lower speeds work well for delicate surfaces and fine finishes. Higher speeds remove material faster but can be too aggressive for some jobs.
Start with a low to medium speed for most projects. This gives you control and helps avoid damaging the surface. Increase the speed gradually if needed for tougher jobs.
For hardwoods, you can typically use higher speeds. Softwoods and painted surfaces need gentler sanding at lower speeds. Always test on a scrap piece first to find the right setting.
Ergonomic Sanding Practices
Good ergonomics reduce fatigue and improve your sanding results. Hold the sander with a light touch, letting its weight do most of the work. Grip it firmly but don’t press down hard.
Keep your arm relaxed and close to your body. Move the sander in smooth, overlapping patterns across the surface. Take breaks every 15-20 minutes to rest your hands and arms.
Use proper safety gear like eye protection and a dust mask. Consider ear protection for longer sanding sessions. Wearing gloves can help reduce vibration transfer to your hands.
Make sure your work area is well-lit and at a comfortable height. A padded mat to stand on can reduce leg and back strain during extended sanding tasks.
Achieving Professional-Looking Finishes
Orbital sanders help create smooth, even surfaces. With the right techniques, you can get results that rival professional work.
Hand Sanding for Detailed Work
Hand sanding is key for fine details. Use a sanding block or folded sandpaper for small areas. Start with coarser grits (80-120) and work up to finer grits (220-320). Sand in the direction of the wood grain.
For curved surfaces, try flexible sanding pads. They conform to shapes better than flat blocks. Dust off the surface often to check your progress.
Don’t forget hard-to-reach spots. Use a detail sander for tight corners and crevices. This helps you achieve a consistent finish across the whole piece.
Final Touches for a Flawless Finish
After machine and hand sanding, focus on the final touches. Use very fine grit sandpaper (400+) for a silky smooth feel. Go over the entire surface lightly to remove any remaining marks.
Wipe the piece down with mineral spirits to reveal any flaws. This step shows areas that need more attention. Fix any issues you spot before moving on.
For wood, consider raising the grain. Dampen the surface with water, let it dry, then sand lightly with fine grit. This extra step leads to an ultra-smooth finish when you apply stain or finish.
Applications Beyond Woodworking
Orbital sanders are versatile tools that can be used on various materials besides wood. They excel at smoothing metal surfaces and are handy for many DIY projects involving different materials.
Sanding Metal Surfaces
Orbital sanders work well on metal surfaces. They can remove rust, smooth welds, and prepare metal for painting. When sanding metal, use aluminum oxide sandpaper. Start with a coarse grit (60-80) for heavy rust or rough spots.
Move to finer grits (120-220) for smoother finishes. Keep the sander moving to avoid heat buildup. Wear safety glasses and a dust mask. Clean the surface often to check your progress.
For large metal areas, a random orbital sander may be better than a palm sander. It removes material faster and leaves a smoother finish.
DIY Projects with Various Materials
Orbital sanders are useful for many DIY projects beyond woodworking. You can use them on:
- Drywall: Smooth joint compound before painting
- Plastic: Roughen surfaces for better paint adhesion
- Fiberglass: Prepare boat hulls or car bodies for repair
- Leather: Thin or smooth edges of leather projects
When working on DIY projects, choose the right sandpaper grit for your material. Use light pressure to avoid damaging softer surfaces. Clean the sander’s pad often to prevent clogging.
For detailed work on small items, a palm sander may be best. Its compact size allows for better control in tight spaces.
Frequently Asked Questions
Orbital sanders are versatile tools, but they can be tricky to use correctly. Many people have questions about how to use them effectively for different tasks and surfaces.
How can an orbital sander be used to remove paint effectively?
To remove paint with an orbital sander, start with coarse-grit sandpaper (60-80 grit). Move the sander in the direction of the wood grain. Don’t press too hard – let the tool do the work.
Change to a finer grit (120-180) to smooth the surface after removing the paint. Clean the surface between grits to avoid scratches.
What steps should be taken to use an orbital sander on hardwood floors?
When sanding hardwood floors, start with a medium grit (80-100) sandpaper. Sand in the direction of the wood grain. Keep the sander moving to avoid creating divots.
Vacuum between grits and work up to finer grits (150-180) for a smooth finish. Be careful near walls and corners to avoid damaging them.
Can you use an orbital sander on walls, and how?
You can use an orbital sander on walls, but it’s not always the best choice. For drywall, use a light touch and low-grit sandpaper to avoid damaging the surface.
For painted walls, a random orbital sander works well to smooth rough spots. Always wear a dust mask and eye protection when sanding walls.
What features should one look for when choosing the best random orbital sander?
Look for a sander with variable speed control. This lets you adjust the sanding intensity for different tasks. A good dust collection system is also important.
Consider the pad size – larger pads cover more area but can be harder to control. Ergonomic design and low vibration features help reduce fatigue during long jobs.
What are the most common mistakes to avoid when using a random orbital sander?
A common mistake is pressing too hard on the sander. This can cause swirl marks and uneven sanding. Let the weight of the tool do the work.
Don’t start the sander while it’s touching the surface. This can cause deep scratches. Always keep the sander moving to avoid creating dips or marks.
In what scenarios is an orbital sander not the appropriate tool to use?
An orbital sander isn’t ideal for removing large amounts of material quickly. For these tasks, a belt sander is better.
It’s also not the best choice for very fine finishing work. In these cases, hand sanding or a finer grit with a random orbital sander might be more appropriate.


